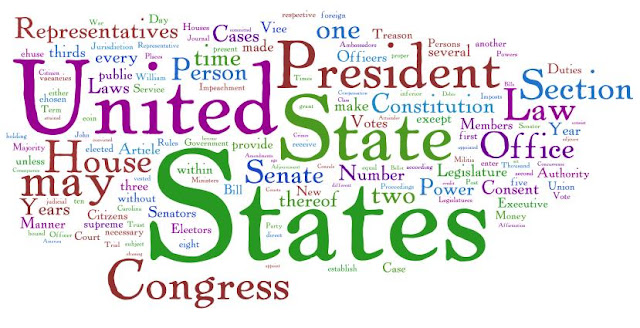
Once you add a gadget in the sidebar, a tag cloud will have a default layout that fits, more or less to the rest of the sidebar.
To change the size, text color, separation, etc.we should add a few lines of CSS in the template, as always will before ]]></ b: skin>
Modifications :
.cloud-label-widget-content {
text-align:center;
font-weight: bold;
}
.cloud-label-widget-content span {
padding: 0 0 0 5px;
}
.label-size-1 a {color: #8b8989; font-size: 10px;}
.label-size-2 a {color: #000000; font-size: 12px;}
.label-size-3 a {color: #4682b4; font-size: 14px;}
.label-size-4 a {color: #dccdc; font-size: 15px;}
.label-size-5 a {color: #6495ed; font-size: 18px;}
.cloud-label-widget-content {
Controls the design of the container of the cloud, the tags in my example would be centered and bold.
.cloud-label-widget-content span {
Controls the distance between the labels, in my example 5 pixels apart.
.label-size
Here we control the text color and size of each of the labels, according to the five options that the gadget provides.
In this case we do, is to include the CSS to add between <style type='text/css'> and </ style> and place it right after the label template <body>.
Controls the design of the container of the cloud, the tags in my example would be centered and bold.
.cloud-label-widget-content span {
Controls the distance between the labels, in my example 5 pixels apart.
.label-size
Here we control the text color and size of each of the labels, according to the five options that the gadget provides.

No comments:
Post a Comment